
Choose how you manage contacts
On first sign-in, pick Google Contacts, iCloud, or create contacts by hand before you use the app.
New Memlane accounts open a contacts source screen before the rest of the app. You must pick one path to continue.
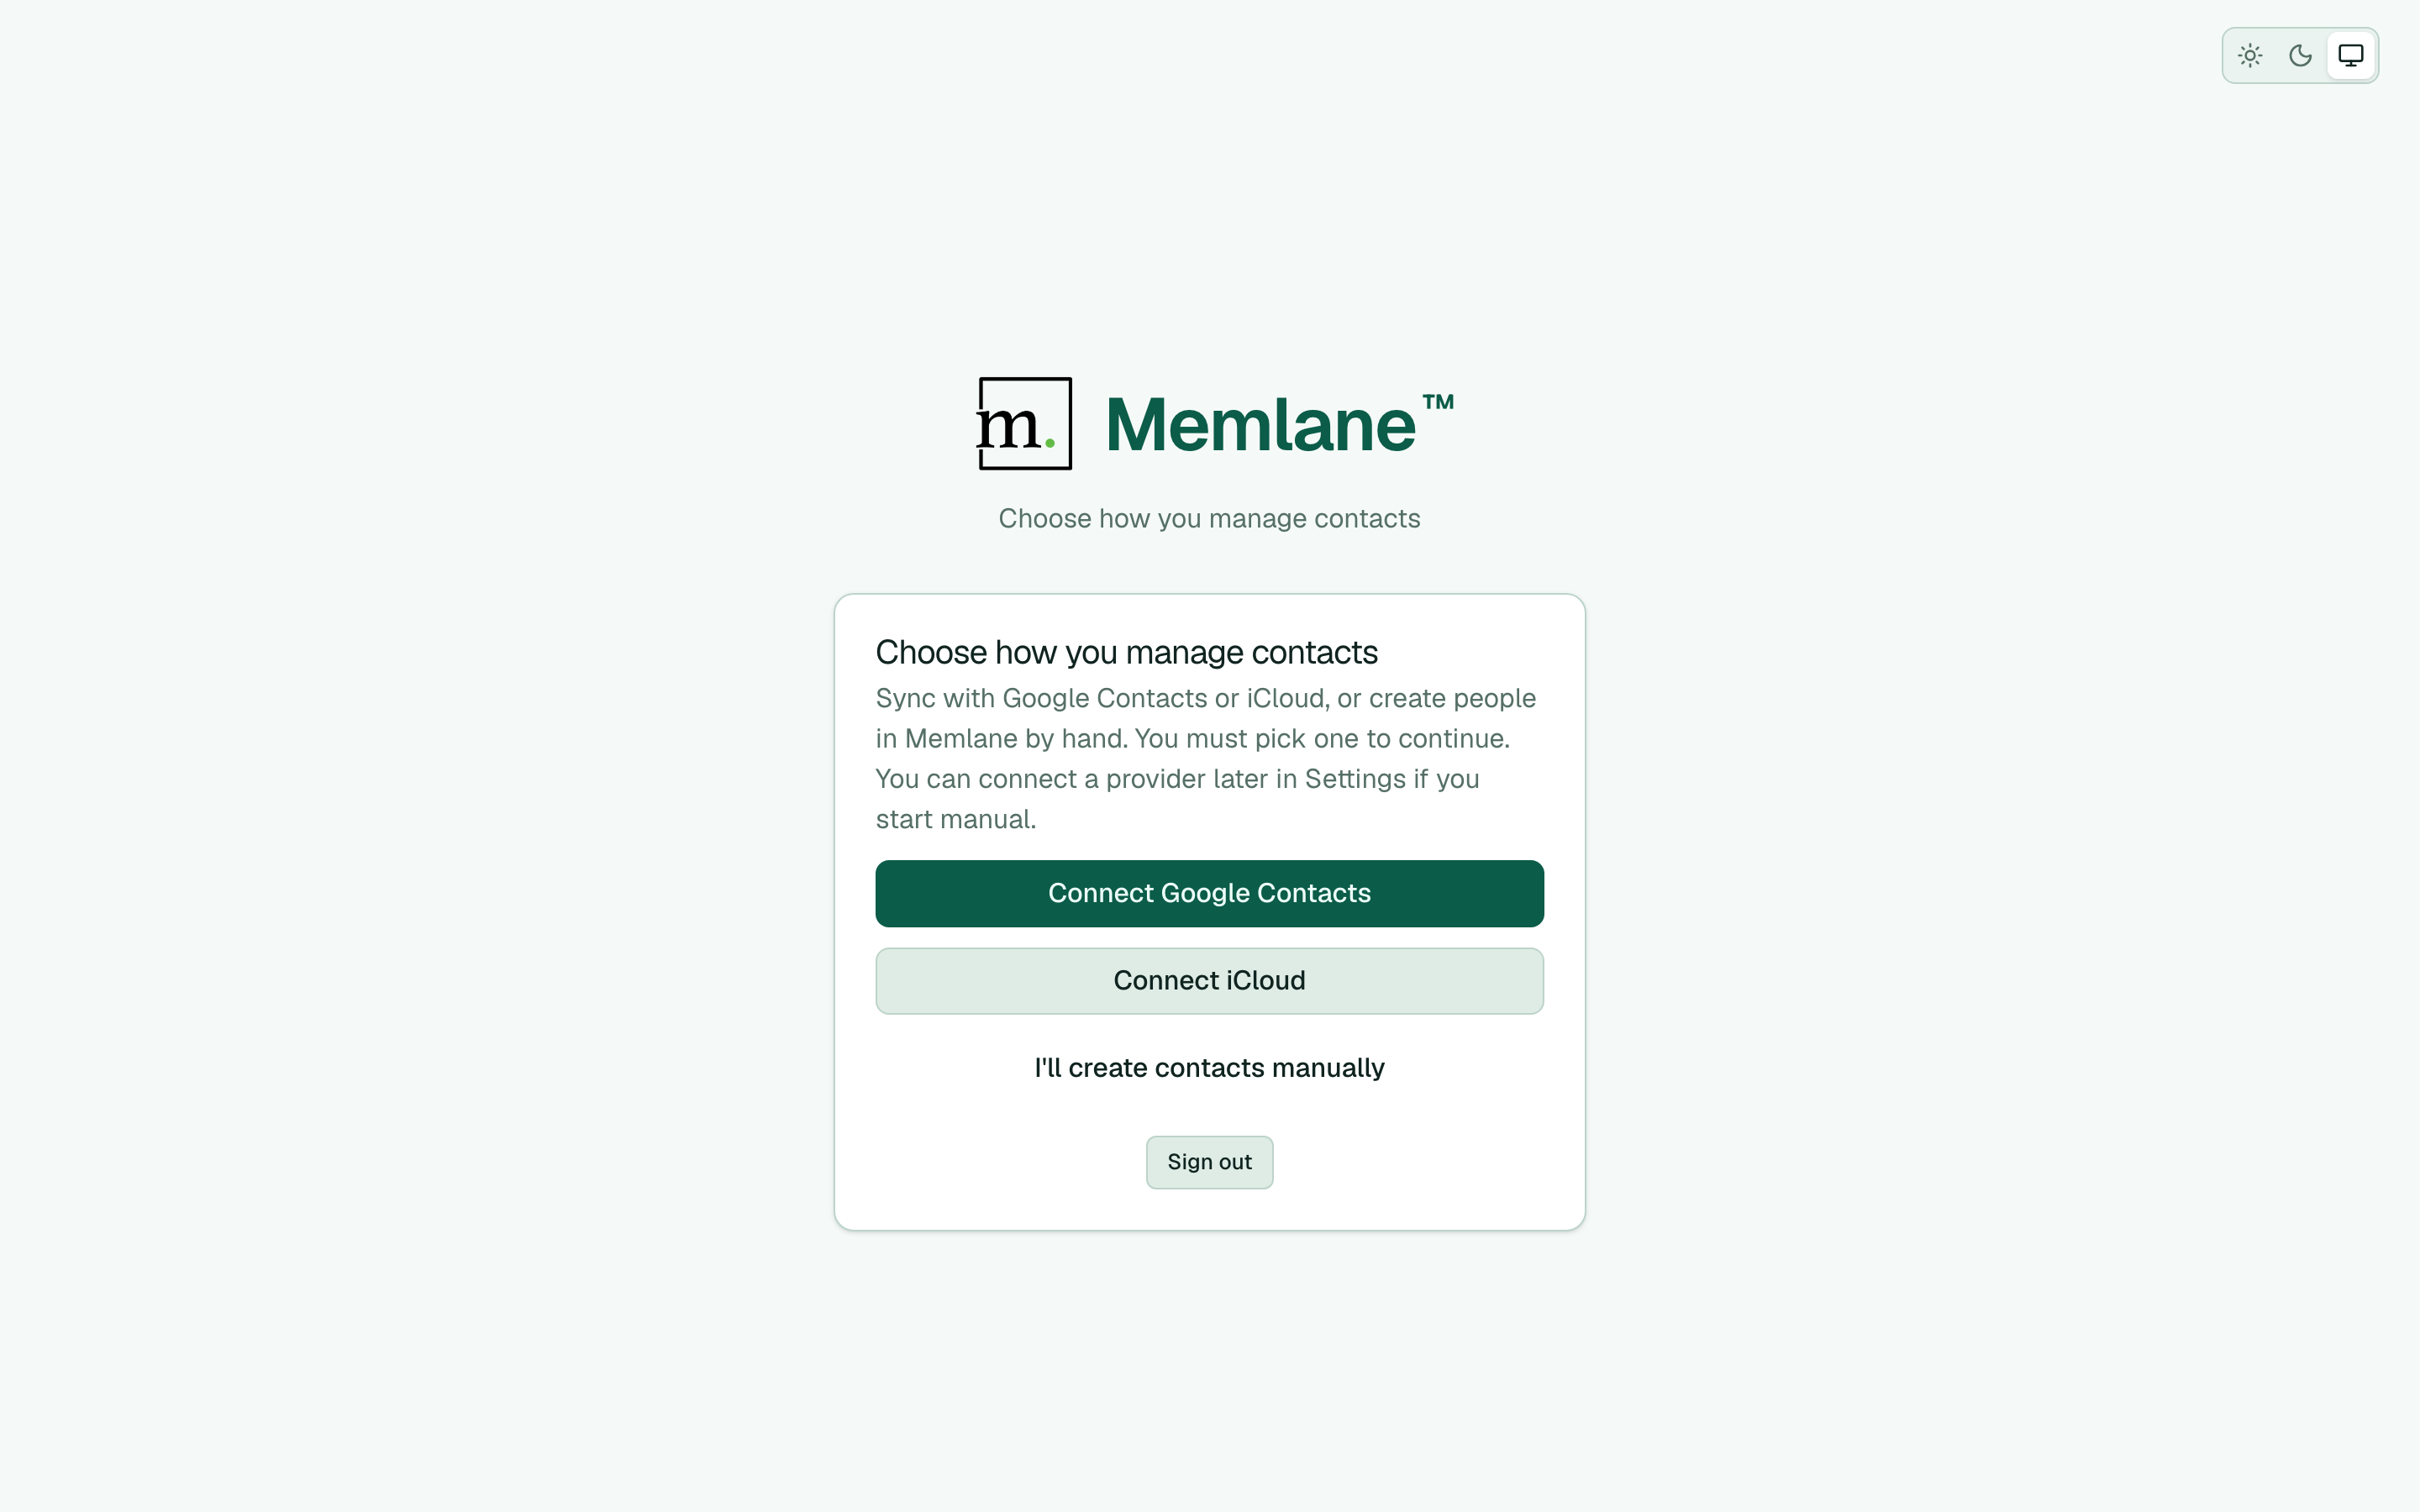
- Sign in to Memlane.
- On Choose how you manage contacts, pick one:
- Connect Google Contacts: sync with Google (highlighted first when you signed in with Google or email).
- Connect iCloud: sync with Apple Contacts (highlighted first when you signed in with Apple).
- I'll create contacts manually: use Memlane without a provider for now.
- If you choose Connect iCloud, finish the iCloud connect screen (app-specific password). Use Back to choices if you want a different option. Connect Google Contacts opens Google permission right away — no extra Memlane page.
- After Google or iCloud connect:
- Free: wait for the contact directory, then Choose who Free syncs (your card or Skip for now, then at least 1 other, up to 4 others; permanent until Pro). Then Choose a few favorites, Coming up, and Contacts. A Contacts banner helps you set a skipped card or fill open Free slots later.
- Memlane Pro: full address-book import, then Choose your contact card, Choose a few favorites, Coming up, and Contacts.
- Manual create skips sync-people, contact card, and favorites. It opens Coming up, then Contacts. Free still caps you at your card plus 4 people until you upgrade.
Each account supports one contacts sync provider. You cannot connect both Google and iCloud on the same account.
If you chose manual, you can still connect later in Settings. Memlane does not show Connect banners after your first choice.
See also: Get started with Memlane, Memlane Pro, Connect Google Contacts, Connect iCloud, Contacts board.